Growing microgreens
How to grow nutritious greens indoors during winter
- By Patricia Hanbidge
January 29, 2026
key points from this story:
- Microgreens are ideal winter crops
- Sprouts and microgreens differ in growth
- Sprouts require only rinsing and draining
- Microgreens need soil, seed, and light
- Harvest in one to three weeks
- Mumm’s Seeds recommended for quality supply
Winter is a great time to get busy growing inside! It helps to ease the chilly winter weather and it graces your table with local food that is extremely nutritious. What a wonderful thing!
Two of the easiest things to grow that are edible are sprouts and microgreens. There is a difference between growing sprouts and growing microgreens although growing either is relatively easy. Both sprouts and microgreens are crunchy, flavourful and packed with nutrition and are great to use in salads, sandwiches or as an exotic garnish. If you are growing sprouts, then you need no lights or other equipment. Successful sprout harvesting is completed by repeatedly rinsing and draining the seeds in a jar or other vessel. The seed, and the growing roots and shoots are consumed. Growing microgreens requires more specialized equipment and only the shoot is consumed.
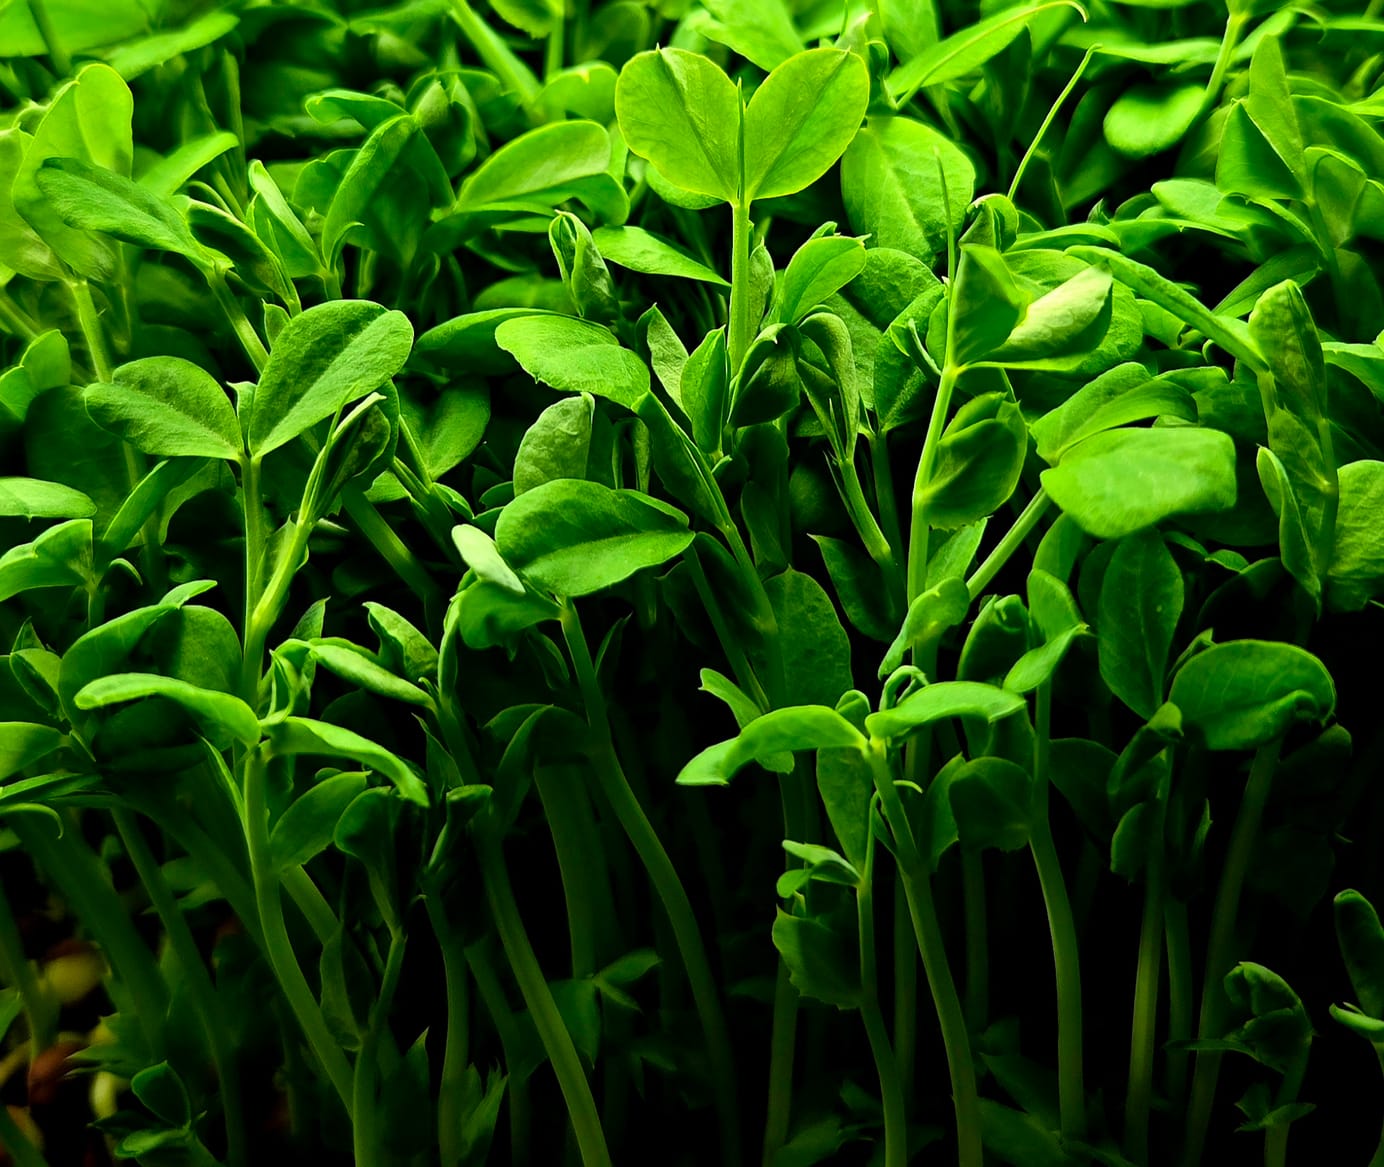
Growing microgreens is a fast, simple indoor process that utilizes shallow trays, growing medium or growing mat, seeds and a bright source of light. A general time frame is one to three weeks from seeding to harvest. Microgreens are harvested above the soil or grow mat and offer a larger range of flavours and colours due to their longer grow time. Microgreens are generally higher in chlorophyll and other phytonutrients than sprouts and also offer a higher quantity of vitamins, enzymes, fatty and amino acids. They are a nutritious powerhouse.
To grow microgreens successfully, select a shallow container that has drainage holes in the bottom. Fill it with a few centimetres of sterilized potting soil or alternatively a growing mat. Please note that it is important to keep all aspects of production clean to prevent the introduction of pathogens and mould. The size of the seed directs the seeding process and also dictates if it is necessary to soak the seed prior to sowing. If you are growing arugula or mustard which are very tiny seeds, just sprinkle them on the surface of the soil. If you are growing sunflowers, beets or other large seeds, it is best to soak the seed prior to sowing. When sowing just cover the seed with your media. Water by mister from above or soak from below so the growing space is just moist – not wet. Cover the tray with a lid or plastic wrap and place in a dark place for two to five days (depending on the seed type). Once the seeds have begun to sprout, remove the cover and move underneath your source of light. Check daily and water as needed. Harvest can be anytime after the first true leaves open, but I prefer to let many of the greens grow a little bit more.
There are many sources for the seeds that are suitable but remember that it is best to buy from a reputable source that provides "seed quality" rather than "food quality" seeds to ensure a good germination rate. My favourite source for seeds to sprout has and will likely always be Mumm's (https://sprouting.com/) as they are a local business that is totally dedicated to selling a quality product and have superb selection. They are located in Parkside Saskatchewan, and are a great example of a successful rural business. However, you may also purchase sprout seeds in health-food stores, specialty shops and many other mail-order houses and shops.
Last Mountain Times Newsletter
Join the newsletter to receive the latest updates in your inbox.


